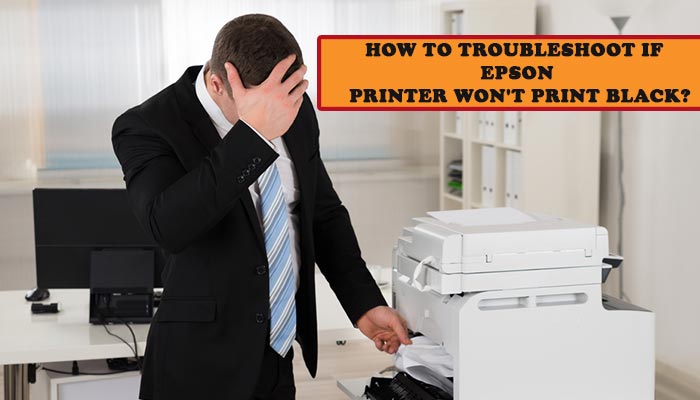
Epson Printers are among the most popular printing machines in use today. Excellent print quality, robust build, and easy setup are some of the USPs of this device. Whether you have a desktop computer, laptop, iPhone, Android Phone, iPad, or a tablet, you can connect the printer to any of these devices and fulfill your both wired and wireless printing requirements. However, instances might occur when your Epson Printer wont print black due to certain issues. Read on to explore those factors and learn how to resolve when your Epson Printer stops printing black.
Epson Printer not Printing Black? Here’s Why!
Before we start with the troubleshooting of Epson Printer wont print black, let’s have a look at the various factors that trigger this issue. One of the most common reasons why an Epson Printer stops printing black is because of low or insufficient ink levels in the ink cartridges. Next, over the prolonged use of the printer, if the printhead gets clogged with dirt, then, you will see a dip in the print quality of the device. As such, you can clean the printhead and remove the dirt to ensure a quality printing experience.
In some cases, while using an Epson Printer, if you see that Epson Printer in error state, it usually indicates that the printer is kept idle for a prolonged period. To get rid of this, you need to first ensure that the printer is connected to the power source and then check if the power LED of the device is lit.
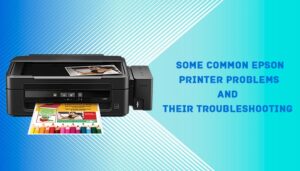
Various Ways to Resolve if Epson Printer Isn’t Printing Black
Now that you are aware of some of the most common reasons that affect the print quality of Epson Printers, read on to explore the various ways by which you can get rid of the problem. Here’s what you need to do:
Check the ink levels:
- Turn your printer off and disconnect the printer’s power adapter from the electric socket.
- Open the printer’s access door and remove the ink cartridges.
- Check for the required ink levels and replace them, if required.
- Close the printer access door and turn the printer on; check if you are getting the desired print quality output.
Clean the Printhead:
- Turn off the printer and open the access door of the printer.
- Locate the printhead and remove it from its slot.
- Dip a piece of cloth into a bowl of lukewarm water and remove the excess water content from it.
- Use the wet cloth to clean the printhead. Alternatively, you can use a pin to remove the first present inside the printhead nozzle.
- Once the printhead dries up, fit it back to its slot and close the access door of the printer.
- Turn the printer on and check if the issue is resolved.
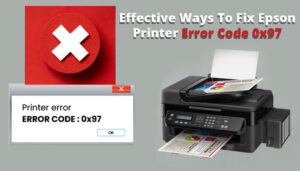
Resolving the Epson WF-7620 Error Code 0x97
Unlike most of the errors of Epson Printers, the Epson WF-7620 error code 0x97 occurs due to any internal hardware issue of your printer. In addition, any technical glitch with the motherboard can also trigger this error. To get rid of this problem, you can follow the series of troubleshooting steps mentioned under:
- Switch off your printer and disconnect the power adapter of the device from the electric socket.
- Open the access door of the printer and check if there is any jammed paper inside.
- If there’s any jammed paper, grab them using both hands and remove them gently while ensuring that no paper traces are left inside.
- Remove the printhead from its slot and clean it with a cloth soaked with lukewarm water.
- Put the printhead back to its slot and close the access door of the printer.
- Connect the printer’s power adapter to the electric socket and press the power button to turn the printer on. This way you can resolve the Epson WF-7620 error code 0x97 in no time.
Apart from the couple of problems mentioned above, instances might occur when you see that your Epson Printer is in an error state. In such cases, you can do a quick restart of the printer and check if the printer comes to an active state. You can then check if the device is connected to your computer either wirelessly or with a cable, such as USB. You can further disconnect all the attached cables with the printer from their respective slots and connect them back after waiting for about two minutes. In some cases, resetting the printer to default settings resolves the error state of Epson Printers.
Conclusion
Issues with the black printing of Epson Printers can be frustrating, especially when you are in urgent need of a printout. However, if you can identify the actual cause behind the problem, you can troubleshoot the problem both quickly and effectively. Follow the various ways of resolving this issue the exact way as mentioned in this post and ensure a seamless journey with your Epson Printer.
For more information visit : https://wiki-updates.com/


